Please add image or text logo

Discover our simple step-by-step guide to installing a garden fence.
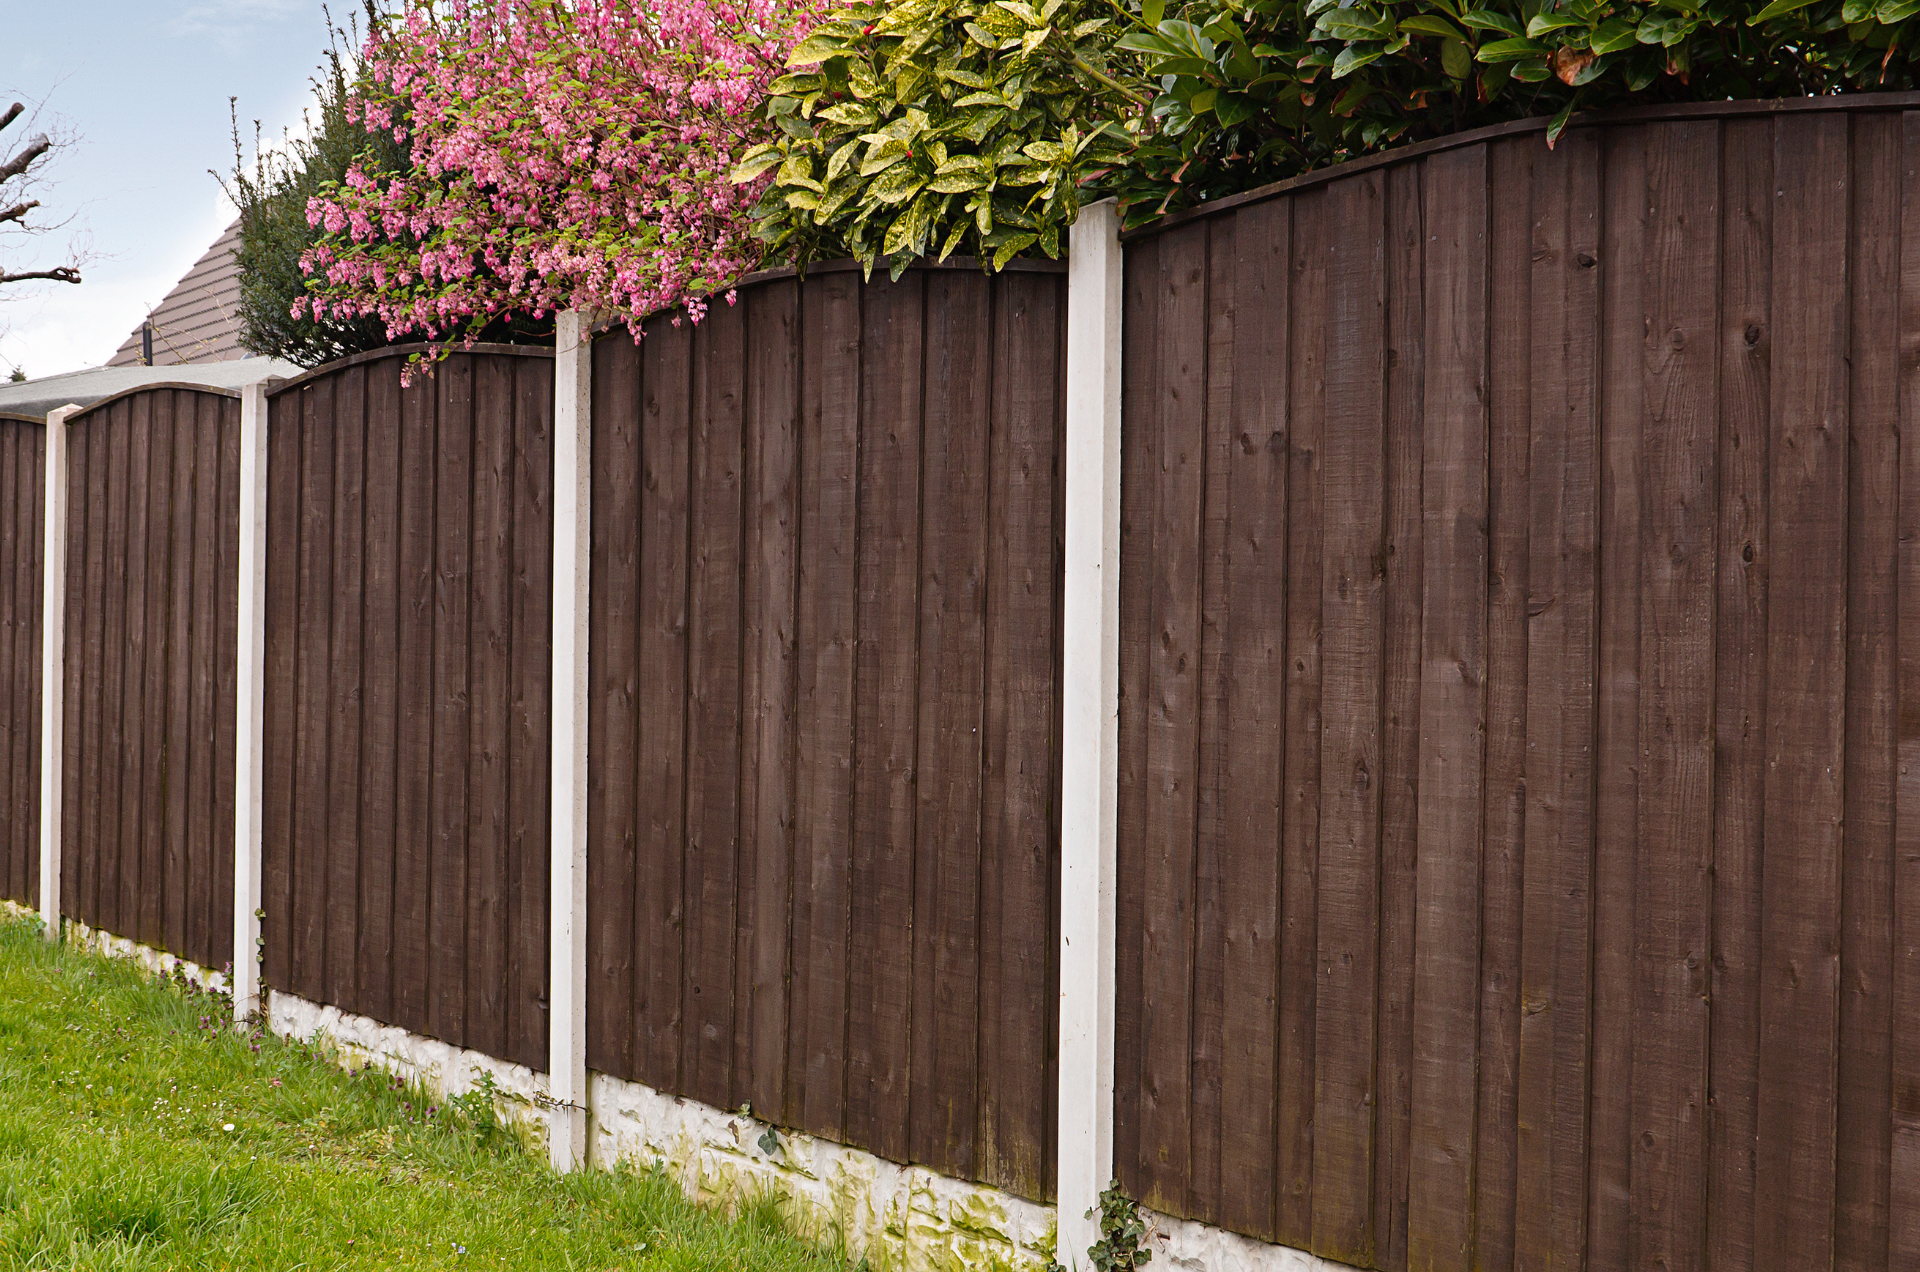
Natural timber garden fencing, fence panels and timber screening provide security and privacy for your garden. The right garden fence can also enhance the appearance of your outdoor space.
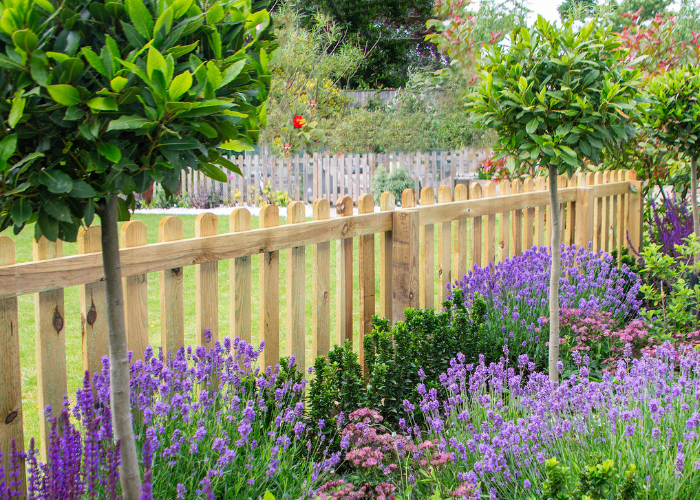
Installing fencing doesn’t need to be difficult. Whether you’re building a traditional fence with or without concrete posts, or opting for a picket fence, we’ll walk you through the step-by-step process of installing a garden fence.

Careful planning and measuring are essential before you begin to install your timber fencing. You need to know which type of panel you want to use, and whether you will be using concrete posts or fixing spikes to secure the fence in place.
Start by clearing the area that you’ll be adding your timber fencing to. Measure and mark out the lengths of each straight section – and based on that length, decide how many fence panels you’ll need. Earnshaws fence panels are available in a variety of dimensions, so make sure to measure using the exact width of the fence panels you plan to use.
You must also account for the width of the fence posts you’re using. Mark the position where each post will need to be laid using pegs or another item that won’t be easily moved.
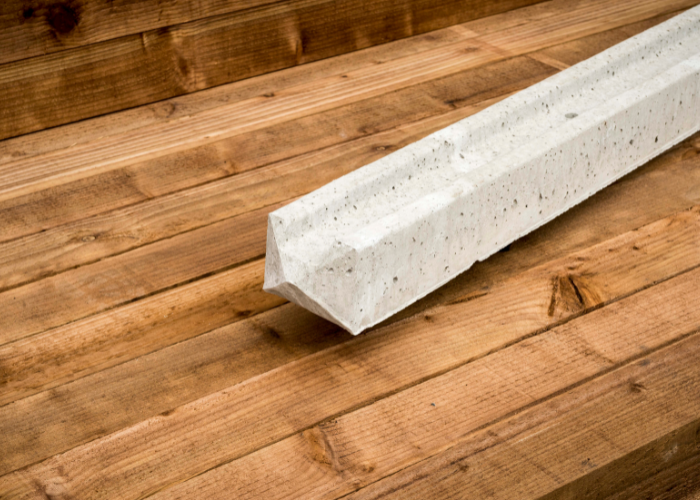
Concrete posts provide a strong framework for fence panels, making for durable and long-lasting fencing that can withstand harsh weather – especially strong wind. Install a fence with concrete posts by:
Step 1: Digging Your Post Holes
Dig holes for your fence posts using a spade or post-hole digger. Most often, the holes will need to be around 60cm deep and three times as wide as your fence posts. If you buy concrete fence posts from Earnshaws, you can speak to a member of our staff or contact us for fitting information.
Step 2: Set the Posts
Add some gravel around the base of each fence post as you place it, to help with the drainage of any groundwater collecting around them. Mix your postfix in a suitable container, like a large plastic tub or a wheelbarrow, following the instructions provided. Then, pour it into the hole around the post. Use a spirit level to ensure the post is vertical before the postfix sets.
Step 3: Install the Panels
Once the postfix has set and the fence posts are secure, slot your fence panels between them. Place gravel boards beneath each panel to prevent water soaking into the panels from the ground. Again, use a spirit level to make sure each fence panel is level.
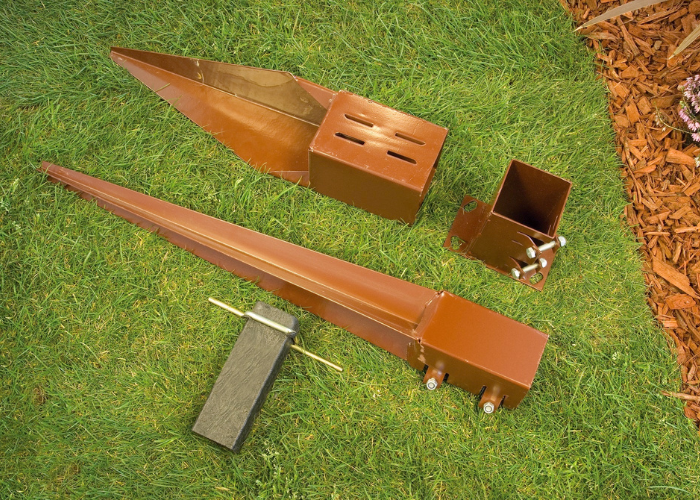
Fixing spikes are a straightforward alternative to using fence posts. They can be fitted without digging holes and pouring concrete or postfix, yet can help you install a stable, long-lasting fence. To install a fence using fixing spikes, simply:
Step 1: Position the Fixing Spikes
Once your layout is planned and marked, place a fixing spike at each post location. Make sure the spikes are positioned correctly, as once they are hammered into the ground it can be difficult to adjust them.
Step 2. Drive the Fixing Spikes into the Ground
Use a hammer with a broad head – like a sledgehammer or a mallet – to drive each fixing spike into the ground. Start gently to make sure the spike stays in position, then strike them with more force to get them in place. Some fixing spikes come with a driving tool that fits inside the spike, helping to drive it into the ground without damaging the spike. Use a spirit level to check that the spike remains straight as you install it. If the spike starts to tilt, remove and reposition it before driving it in again.
Step 3. Insert the Fence Posts
Once the fixing spikes are securely in the ground, insert the fence posts into the sockets at the top of the spikes. Make sure the posts are seated firmly in the sockets, and use a spirit level to ensure they’re straight. Most fixing spikes come with screws or bolts to secure the post to the spike. Tighten these to lock the post into place.
Step 4: Install the Panels
Fit the fence panels into the posts using the particular fittings your chosen posts have. You may have to use a drill and a screwdriver to secure the panels in place using screws. Use a spirit level to ensure each panel is level before you move on to the next.
Fit the fence panels into the posts using the particular fittings that your chosen posts have. You may have to use a drill and a screwdriver to secure the panels in place using screws. Use a spirit level to ensure each panel is level before you move on to the next.
Q: How much do fence panels cost?
A: When it comes to timber fence panels, you generally pay for what you get. Budget fence panels may be attractive when it comes to price, but they may not last as long as higher-grade fence panels. You’ll find a selection of high-quality timber fence panels available at Earnshaws, for fantastic prices.
Q: Can you drill into concrete fence posts?
A: Yes, you can drill into concrete fence posts, but you’ll need to use a hammer drill or a rotary hammer, and you’ll need to fit a masonry bit. Concrete dust can be harmful, and drilling into concrete can cause fragments to fly off, so make sure you wear a dust mask and safety goggles.

Sales and advice ![]() 01924 830055
01924 830055
Notifications